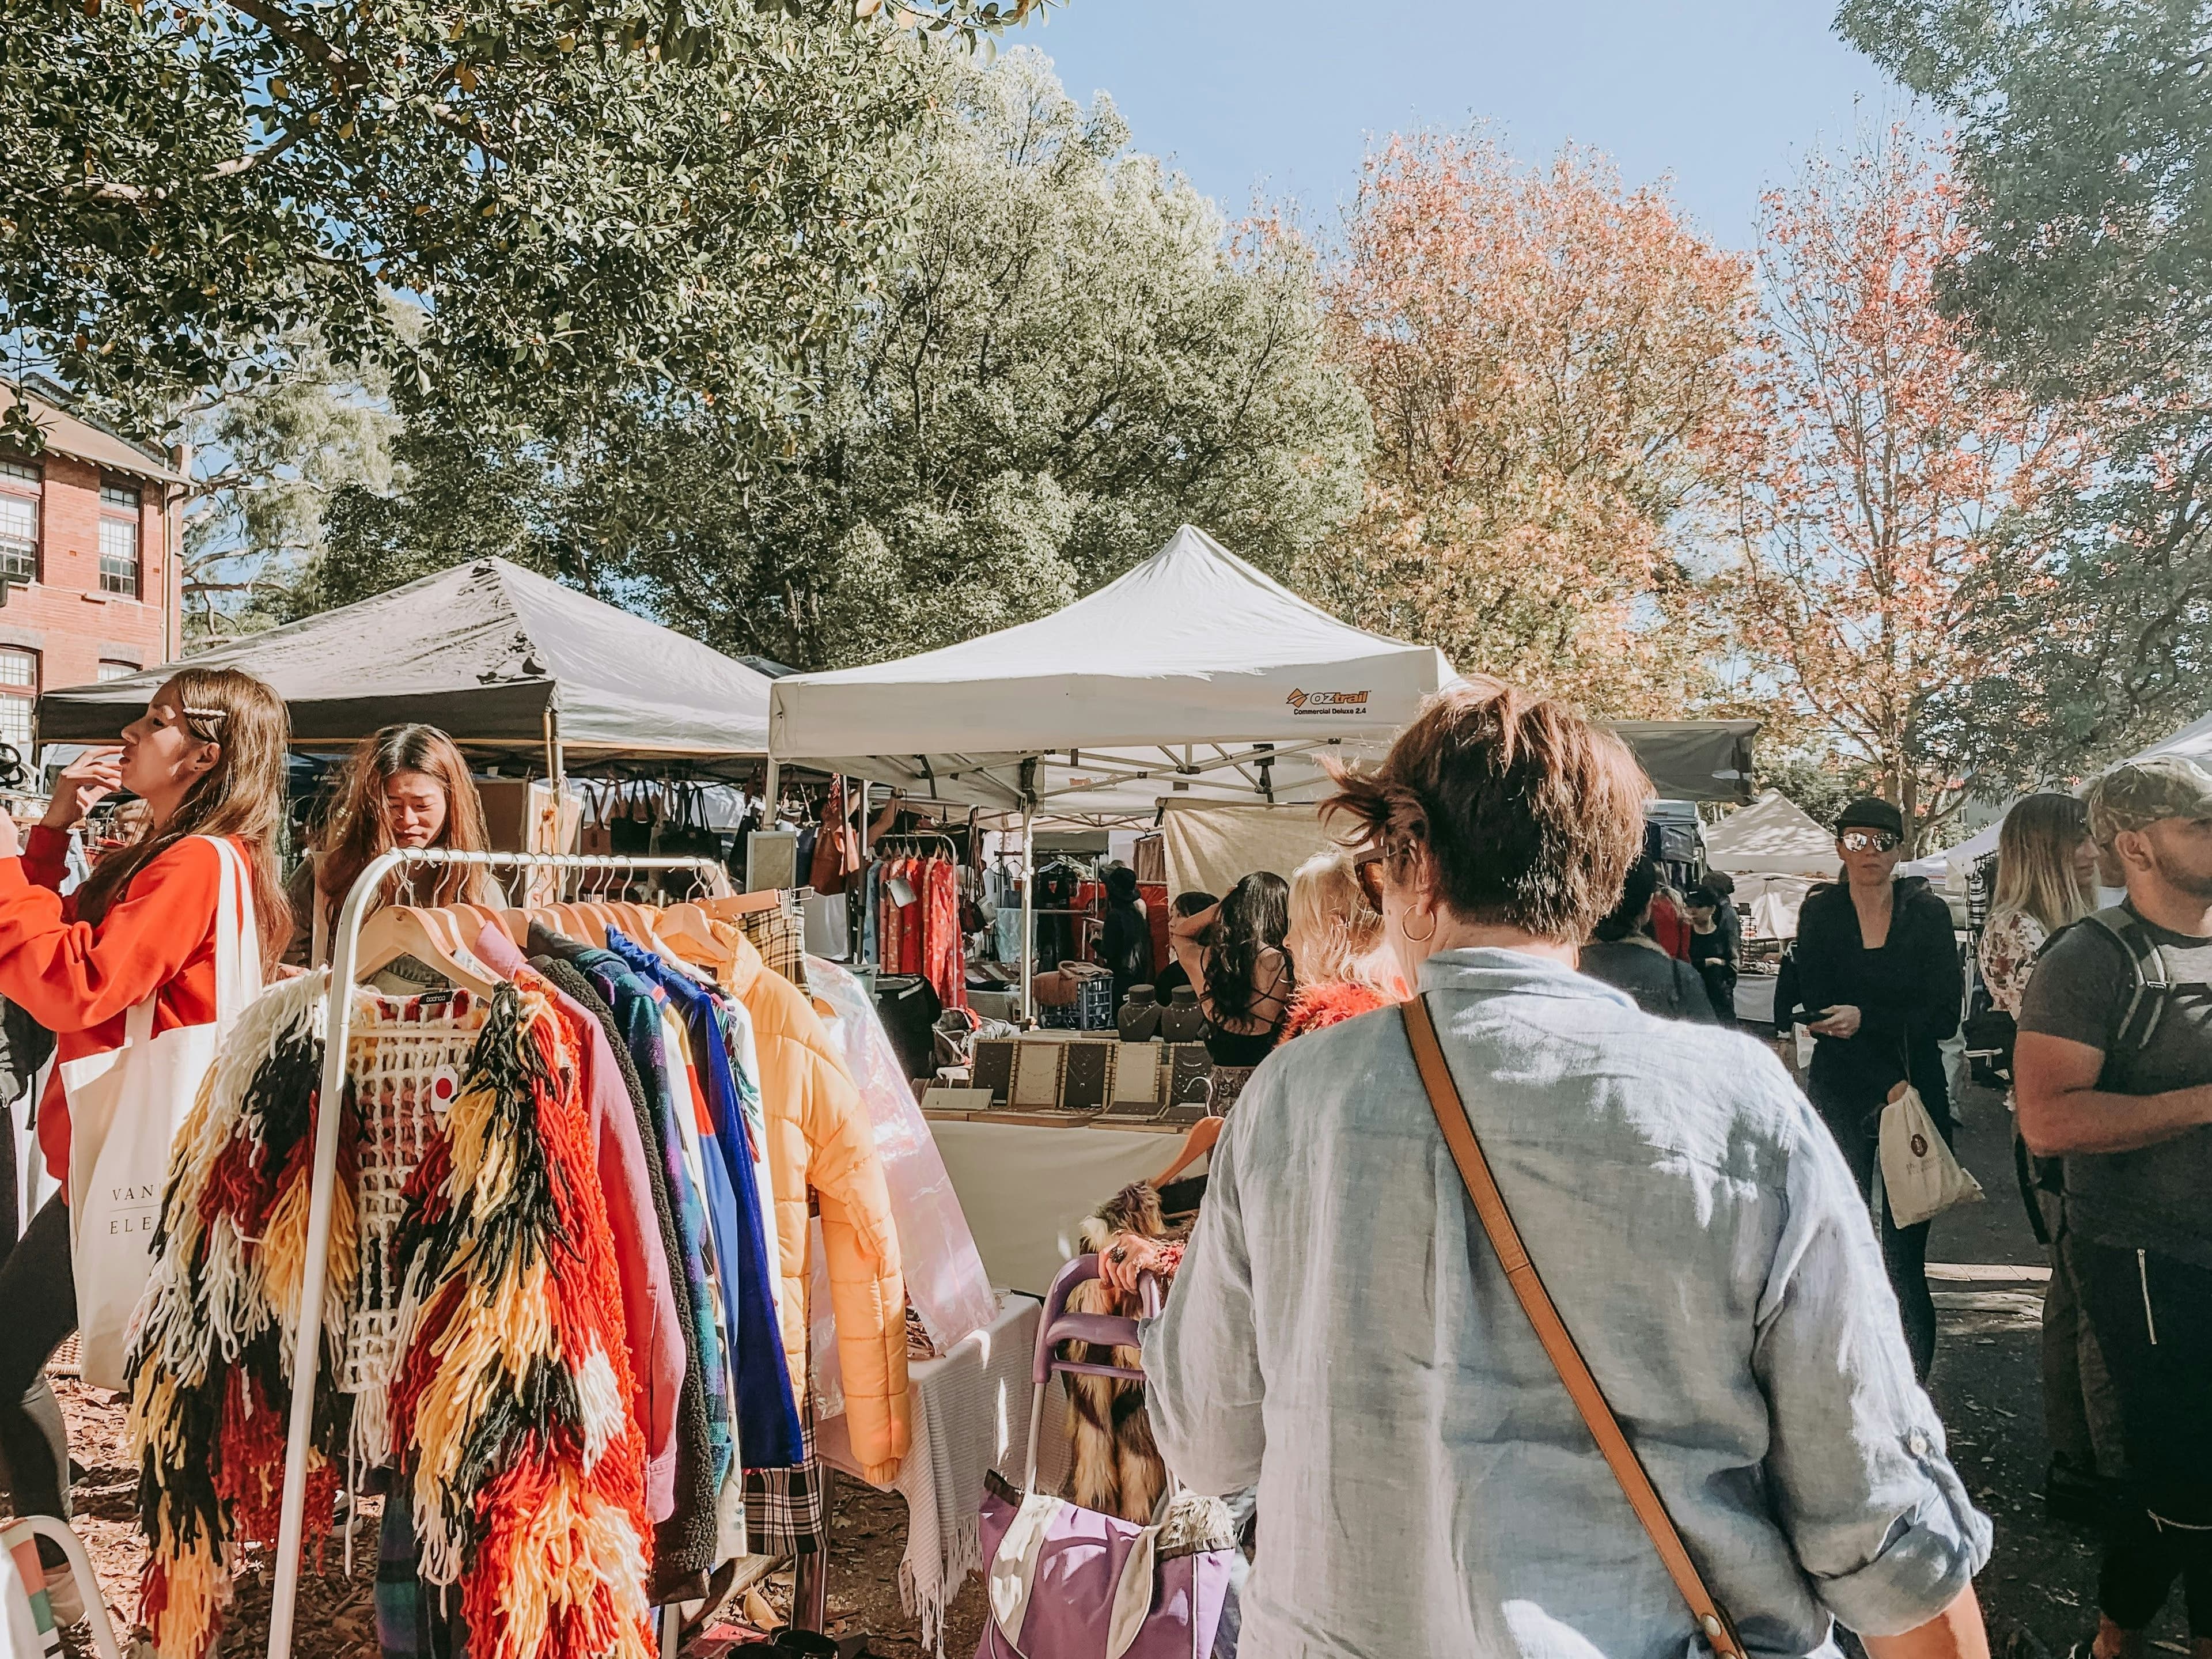
Are you thinking of hosting a vendor market but not sure where to start? It can seem scary and overwhelming, but it's actually a lot simpler than you might think. There are just a couple of things and steps that you need to take in order to do it the right way. But don't worry we got you covered. In this post, we walk you through organizing your first market. From obtaining permits to marketing it, and everything in between.
What Is a Vendor Market?
A vendor market is a community event where local crafters, entrepreneurs, small businesses, and farmers come together to sell their products and goods.
Why Should You Host a Vendor Market?
Anyone can host a vendor market. The more important question is why should you host a vendor market? There are many reasons for hosting a vendor market, and some of those reasons for that are the following.
- Cultivating a local community around business
- Organizing a fundraising event
- Hosting a holiday market or niche event
- Connecting the local community with makers and small businesses
- Generating revenue while giving back to the community
You do not need event planning experience to host one. First-time organizers, small business owners, PTAs, nonprofits, church groups, neighborhood associations, and makers all run vendor markets.
How to Organize a Vendor Market (Step by Step)
Below we've outlined the key steps to take in order to organize a successful vendor market. You don't need to follow them to the T, but we recommend you take similar steps.
1. Pick the Type of Market You Want to Organize
The type of vendor market you want to host dictates what you must do. So start by choosing which vendor market you want to run. There are different markets to choose from. Such as farmers, craft fairs, pop-up, flea, holiday, or food truck events.
While they all seem pretty similar, each one has different permits and requirements. From experience, we can say farmers markets have the most rules and regulations that you need to follow.
2. Choose Location, Date, and Frequency
After you've decided which type of vendor market you want to run, next you'll have to choose a location, date, and frequency.
There are a lot of factors that go into choosing an event venue, we've created a separate article on that but the most important ones are you want somewhere that's easily accesible and has good foot traffic.
Date is important as well, weekend markets usually work best.
Pick a date that avoids competing local events. Saturday mornings from 9 AM to 1 PM work well for farmers and general markets. Craft fairs often run afternoons. Holiday markets do best in the four weeks before Christmas.
We recommend doing your due diligence to figure out which dates and times would work best in your local community.
3. Get Permits and Licenses
Permits can take longer than you expect, so we recommend starting 3 to 4 months out.
You usually need three things. An event or special event permit from the city or county. A general business license or seller's permit. General liability insurance, which most venues require before they let you book. A single-day liability policy runs $150 to $300.
Add a health department permit if you have food vendors, and check your state rules on cottage food and sampling. Call your local city or county office to confirm exactly what applies to your market.
4. Create Vendor Registration and Recruit Vendors
Vendors are your product as an organizer, so start recruiting 3 months out. Before you open applications, set your booth fees. Add up venue rental, tables, permits, marketing, and supplies, then price booths to cover it with room left over. A 25 vendor market charging $100 per booth brings in $2,500, which can cover a first-time event with money to spare.
Find vendors through local Facebook maker groups, Instagram hashtags, past vendor lists from other markets, and word of mouth from vendors who applied first. The Marketlly vendor directory is another option since makers actively browse it looking for markets to apply to.
Once vendors know about your market, they need an easy way to apply. Ask every applicant for the same information so you can review side by side.
A good vendor application collects these fields.
- Business name and short description
- Product type and price range
- Booth size preference
- Website, Instagram, or Facebook link
- Photos of past setups or products
- Special requests like electricity, wall space, corner booth, or shade
- Signed vendor agreement
Marketlly lets you build the application, collect booth payments through Stripe, and text vendors directly, all in one free tool. It replaces the Google Forms plus spreadsheet plus email chain patchwork most first-time organizers start with.
5. Market Your Event
Start promotion 6 to 8 weeks before your market. Social media is the fastest way to build local awareness.
Post your market on Facebook and Instagram and ask your vendors to share it too, since their followers will show up to support them. Set up a Facebook event page early so people can RSVP and forward it to friends. Tease the vendor lineup by featuring one or two makers a week in the run-up.
Paid ads work if you keep them simple. A Meta ad with a $5 to $10 daily budget for one to two weeks before the event is enough to reach local shoppers in a small town or a single zip code.
Offline promotion still matters. Post flyers at coffee shops, community centers, libraries, and schools where locals gather. Include a QR code that links to your event page for one-scan RSVPs. For longer-term visibility, list your market on Marketlly so it shows up on Google and in AI search tools like ChatGPT.
6. Accept, Decline, and Waitlist Vendors
Once applications start rolling in, review them on a schedule instead of one at a time. A weekly or biweekly review keeps things moving without eating your calendar.
Approve vendors who fit your market's mix. Politely decline anyone whose product overlaps too much with a vendor you already approved. Waitlist strong applicants you would like to fit in if space opens up.
Send a clear acceptance message with next steps like payment link, setup instructions, and arrival time. Send a clear decline message that leaves the door open for future markets. Silence is what damages your reputation with vendors, not a polite no.
7. Create Your Booth Map
Sketch the booth map two to four weeks before the event so you can share it with vendors ahead of time.
Group similar vendors near each other, but not directly next to each other. Two candle makers side by side hurts both of them. Two candle makers on opposite ends gives shoppers a reason to walk the whole market.
Corner booths are premium spots since shoppers see them from two directions. Reserve corners for anchor vendors, high-traffic categories, or vendors who paid for a larger space. Leave clear aisles for stroller and wheelchair access.
Marketlly booth mapping lets you drag and drop booths, share the map with vendors, and update it in real time if someone cancels the week of.
8. Market Day Operations
Event day moves fast, so the more you prep the night before, the smoother the morning goes.
Arrive 2 to 3 hours before vendors to mark booth spaces, put up directional signs, and set up check-in. Brief your volunteers on their roles before anyone pulls in. Assign someone to greet vendors at the entrance, someone to float between booths, and someone to answer shopper questions at a central info table.
Keep a printed list of vendor names and booth numbers at check-in to speed things up and spot no-shows early. Walk the floor often, since problems are easier to fix before they turn into complaints.
Marketlly SMS notifications let you text every vendor at once if the weather changes, a booth needs to move, or the market is opening late.
9. Post-Market Survey
The event is over, but your work is not quite done. What you do in the week after decides whether your next market fills up faster than this one.
Send a thank-you message to every vendor and volunteer within 48 hours. Include a short survey asking what worked, what did not, and whether they would return. Track vendor sales if they will share, along with total attendance, no-show rate, and how much you collected in booth fees against how much you spent.
Book the date for your next market before shoppers and vendors forget about you. Announce it in your thank-you message so vendors who liked the event can lock in a spot right away.
Ready to Host Your First Vendor Market?
Hosting a vendor market takes real planning, but it is one of the more rewarding events you can run. Pick the right type for your area, sort your permits early, set booth fees that cover your costs, and give vendors a smooth experience from application to event day.
If you are ready to plan your first market, Marketlly gives you vendor applications, Stripe payments, booth mapping, and SMS texting in one free tool at marketlly.com.