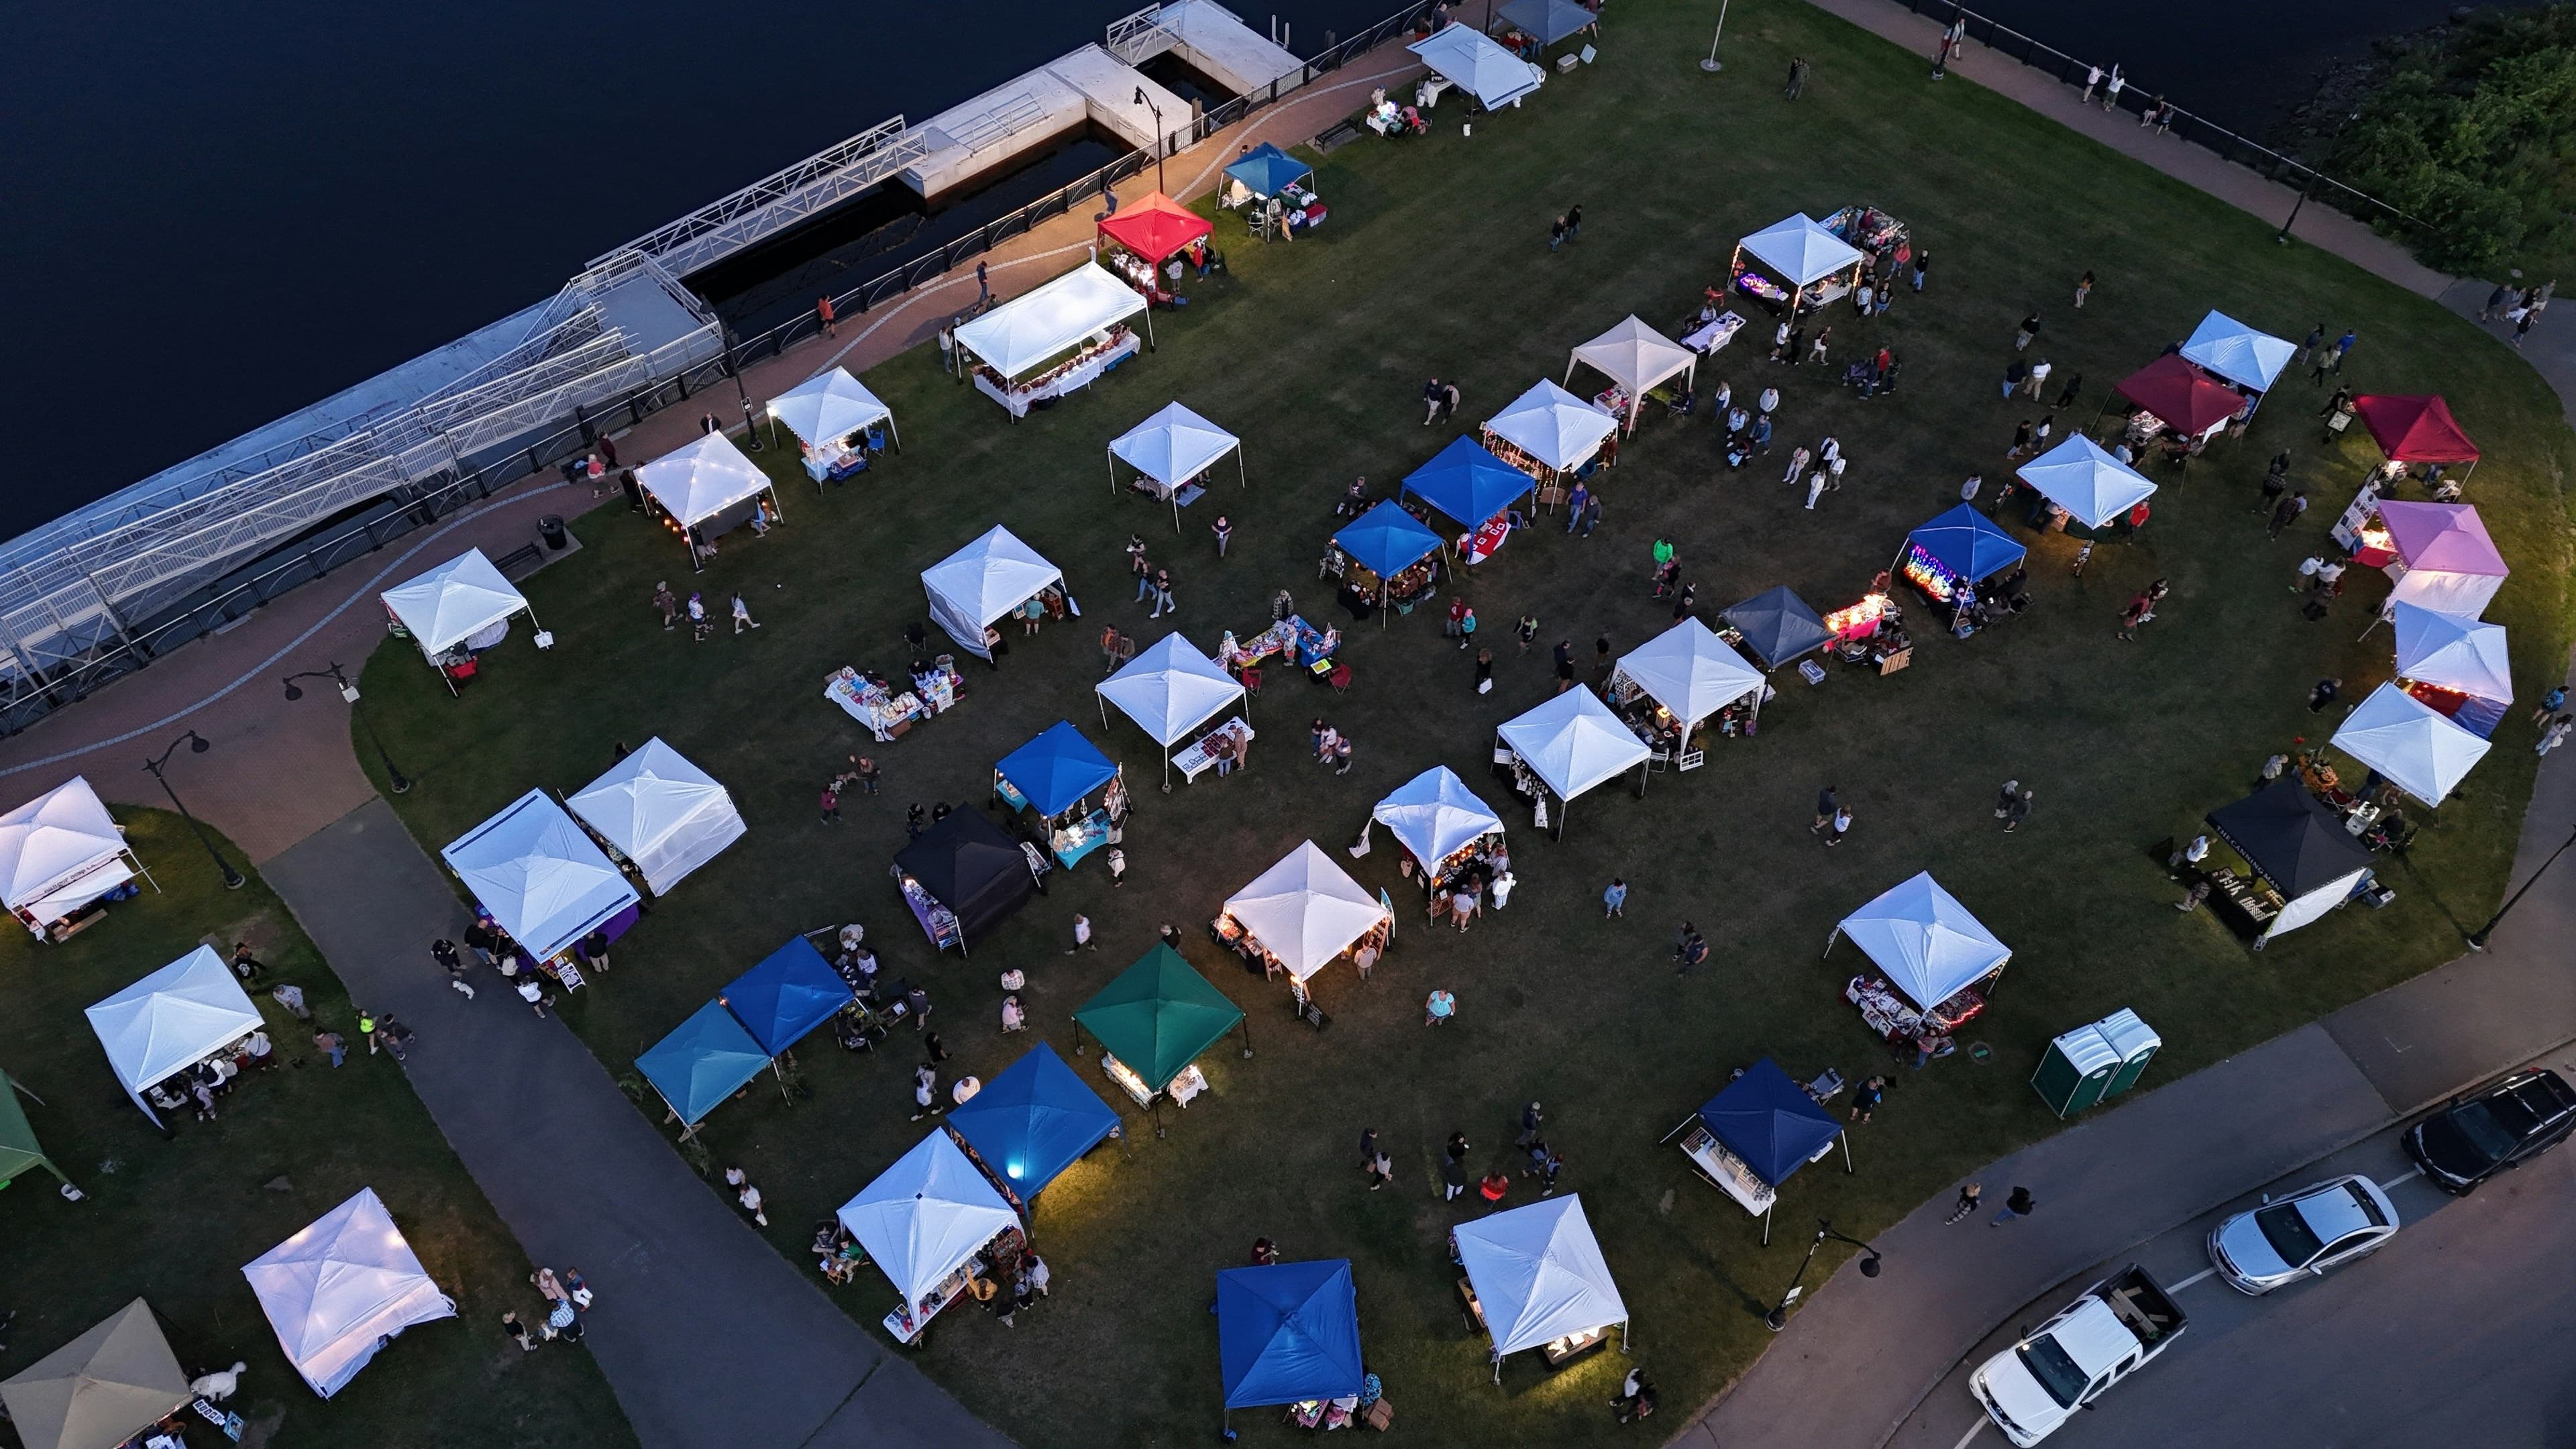
Want to organize your first craft fair? You don't need a big team or a huge budget. You need a plan, a venue, and the right vendors.
This guide walks you through every step so you know what to do and when.
What Is a Craft Fair?
A craft fair is an event where makers and small business owners rent booth space to sell their products directly to shoppers. Think handmade jewelry, ceramics, candles, clothing, art, and food.
Vendors pay you a booth fee to be there, and shoppers come to browse and buy.
That booth fee model is how organizers make money.
A 30 vendor fair charging $75 per booth brings in $2,250. The margins depend on your venue cost and what you provide, but craft fairs can turn a profit even at a small scale.
Step 1. Set Your Goals and Budget
Start by getting clear on what you want this event to be. How many vendors do you want? For a first fair, 20 to 30 is a manageable number.
What kind of shoppers are you trying to bring in? Will you charge admission or keep it free? The answers shape every other decision.
Then build a simple budget.
Your main costs will be venue rental, tables and chairs if they aren't provided, permits or insurance, marketing, and event-day supplies.
Once you know your costs, you can set booth fees that cover them.
Most first-time organizers price booths between $50 and $200, depending on the market and what's included.
If you want a tool built for this, our craft market software handles vendor applications, payments, booth mapping, and more.
Step 2. Choose the Right Venue
Your venue is the foundation of the event.
A bad venue ruins the experience, no matter how good your vendors are.
Common options for first-timers include community centers, church halls, schools, gyms, parks, and empty retail spaces.
Each has tradeoffs. Indoor spaces give you climate control and easier logistics. Outdoor spaces cost less but need a weather backup plan.
When you evaluate a space, check for parking, restrooms, loading access, and enough square footage to give vendors room to set up.
A tight floor plan makes for a miserable day for everyone.
One thing first-timers miss is that public and private venues work differently. Closing a block of street requires permits and city approval.
A private parking lot or community hall does not.
Know what you're dealing with before you sign anything, and book at least 3 to 4 months out, since good spaces go fast in spring and fall.
Step 3. Create Your Vendor Application
Your vendor application is how you control the quality and variety of your fair.
Don't skip this step or rush it. A good application collects basic vendor info, what they sell, whether it's handmade or resale, and their booth size needs.
It should also spell out your booth fee, what's included, setup and breakdown times, and your cancellation policy.
Set a product limit per category, for example, two jewelry vendors max, so the floor has variety.
Marketlly has craft market [vendor applications] built in.
You can collect applications, take booth fee payments through Stripe, and manage your booth layout in one place.
It's free to start, so there's no reason to cobble it together with Google Forms and Venmo.
Step 4. Plan Your Layout
A smart floor plan does more for your vendors' sales than almost anything else you control. Place food vendors toward the back or in the corners.
Shoppers will walk the whole floor to reach them, which gives other vendors more exposure. Leave wide aisles of at least 8 to 10 feet so strollers and wheelchairs can move freely.
Space similar vendors apart so they're not competing shoulder-to-shoulder for the same shopper. Mark exits clearly and plan a rest area with seating so people stay longer.
Build a booth map and share it with vendors before the event.
They should know exactly where they're setting up when they arrive. It cuts down on confusion and gives the morning a smoother start.
Step 5. Market Your Craft Fair
Start promoting 6 to 8 weeks out. That's enough lead time to build awareness without burning out.
Online, create a Facebook event and share it in local community groups. Post vendor spotlights on Instagram in the weeks leading up.
List your fair on local event calendars, most of which are free to submit to. If your fair has a hook, like local makers only or a holiday theme, lead with that in every post.
Offline, flyers at coffee shops, libraries, and community boards still work. Ask your vendors to share the event with their own customers, since they already have an audience interested in what they sell.
Every post and flyer should include the date, time, location, a short list of what shoppers can find, and parking info.
Step 6. Handle Event-Day Logistics
The week before the event is for confirming details, not making decisions. Send vendors a reminder with their setup time, venue address, parking instructions, and your phone number.
Tell them exactly what's provided and what they need to bring. Assign roles to your team or volunteers for check-in, floor help, and cleanup, then build a day-of timeline.
Bring a first aid kit, extension cords, duct tape, scissors, directional signage, and a cash box.
Over-prepare here.
Something will go sideways on event day, and you'll want to be ready.
Step 7. Run the Event
Arrive early. Unlock the venue and be there to direct vendors as they pull in. Set up a check-in table so vendors can confirm their spot and get any last-minute info.
Walk the floor regularly throughout the day, because problems are easier to fix when you catch them early. Stay visible and reachable.
Things will go wrong. A vendor won't show.
Someone needs an outlet that isn't close to their booth. A shopper complains. That's normal. Handle each one calmly and move on.
Take photos throughout the day, because you'll need them to market the next one.
Ready to Plan Your First Craft Fair?
The steps aren't complicated. It's the follow-through that makes the difference. Start with a clear goal, lock in a venue early, and build a vendor application that filters for quality. If you're thinking bigger, our guide on how to host a vendor market covers the broader setup for any market type.
If you're still managing applications in a spreadsheet, Marketlly lets you run applications, booth payments, and layouts from one place. It's free to get started at marketlly.com.