
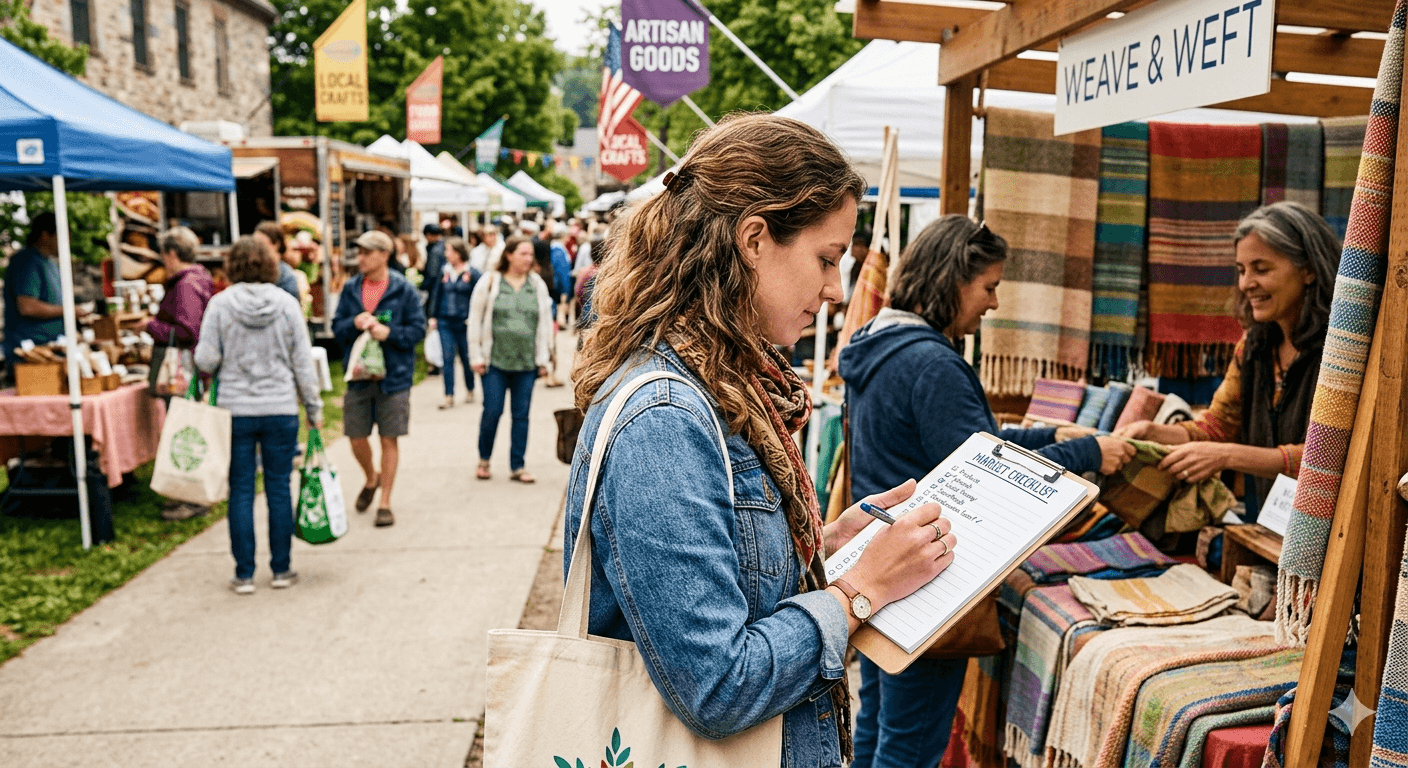
Planning a festival without a checklist is a recipe for missed details and day-of chaos. This festival planning checklist breaks down every phase — from booking your venue to post-event debrief — so nothing slips through the cracks.
3-6 Months Out: Lay the Foundation
This is where everything starts. Get these fundamentals right and the rest of your planning will be significantly smoother.
Lock Down Your Venue and Permits
- Confirm your venue dates, capacity, and layout options
- Research local permits — noise, food, alcohol, and temporary structures
- Check insurance requirements (general liability, vendor coverage)
- Arrange portable toilets, waste management, and power access
- Identify emergency services and medical plan requirements
Set Your Budget
- Estimate all costs — venue, permits, marketing, entertainment, and staffing
- Build in a 10-15% contingency buffer — you will need it
- Identify sponsorship opportunities to offset costs
- Set vendor booth fees that cover your overhead
Start Recruiting Vendors
Open your vendor application process now. Use vendor application templates to streamline submissions. Running a craft fair? Our how to organize a craft fair guide walks through the full vendor recruitment process. For a farmers market, a solid vendor intake form helps you find vendor opportunities by listing your event publicly to attract quality applicants.
1-2 Months Out: Marketing and Logistics
The groundwork is laid. Now it is time to get loud about your event and lock down your vendor lineup.
Get the Word Out
- Create your event page and launch social media promotion
- Send a press release to local media, blogs, and community groups
- List your event on community calendars and local directories
- Launch email marketing to your existing audience
- Consider paid social ads to drive ticket sales or RSVPs
Confirm Your Vendors
- Send acceptance and rejection notices to all applicants
- Collect booth fees and signed vendor agreements
- Share the event map, load-in times, and vendor guidelines
- Chase up missing paperwork, payments, or licenses
Good market management software automates a lot of this — payment reminders, document collection, and vendor communication all in one place.
2 Weeks Out: Final Preparations
The details that get skipped here are the ones that cause problems on the day. Work through this list carefully.
- Send a final confirmation email to all confirmed vendors with booth assignments and arrival instructions
- Finalize your site layout — booth map, signage placement, entry and exit points
- Brief your volunteers and staff on their roles and schedules
- Confirm all equipment rentals — tents, tables, chairs, generators, sound systems
- Check weather forecasts and prepare your contingency plan
- Post a final promotional push across all channels — social, email, community groups
Day Of: Setup, Check-In, and Contingencies
Setup
- Arrive early — at least 90 minutes before vendor setup begins
- Walk the full site and confirm all utilities, signage, and facilities are in place
- Station a volunteer at the entrance to direct vendors to their booths
Vendor Check-In
- Check in vendors against your confirmed list — note no-shows immediately
- Hand out day-of information packets: map, rules, emergency contacts
- Have a holding area ready for late arrivals or overflow vendors
Contingency Plan
- Know your rain threshold — at what point do you delay, move indoors, or cancel?
- Have a communication plan ready to notify vendors and attendees quickly
- Keep the first aid kit and emergency contact list accessible at all times
Post-Event: Follow-Up and Debrief
The event is done — but your work is not. What you do in the days after shapes how your next event goes.
- Send a thank-you email to all vendors and volunteers within 48 hours
- Send a feedback survey to vendors — what worked, what did not, what they want next time
- Review attendance, revenue, and expenses against your original budget
- Document what went wrong — be honest, it will make next year better
- Start a waitlist for next year while interest is still high
If you are just getting started, check out our guides on how to start a farmers market and how much money you can make running a pop-up market — both are worth reading before your first event.
Ready to manage your market without the headaches? Events Near Me is free to get started — built for market organizers who want to spend less time on admin and more time on the market floor.