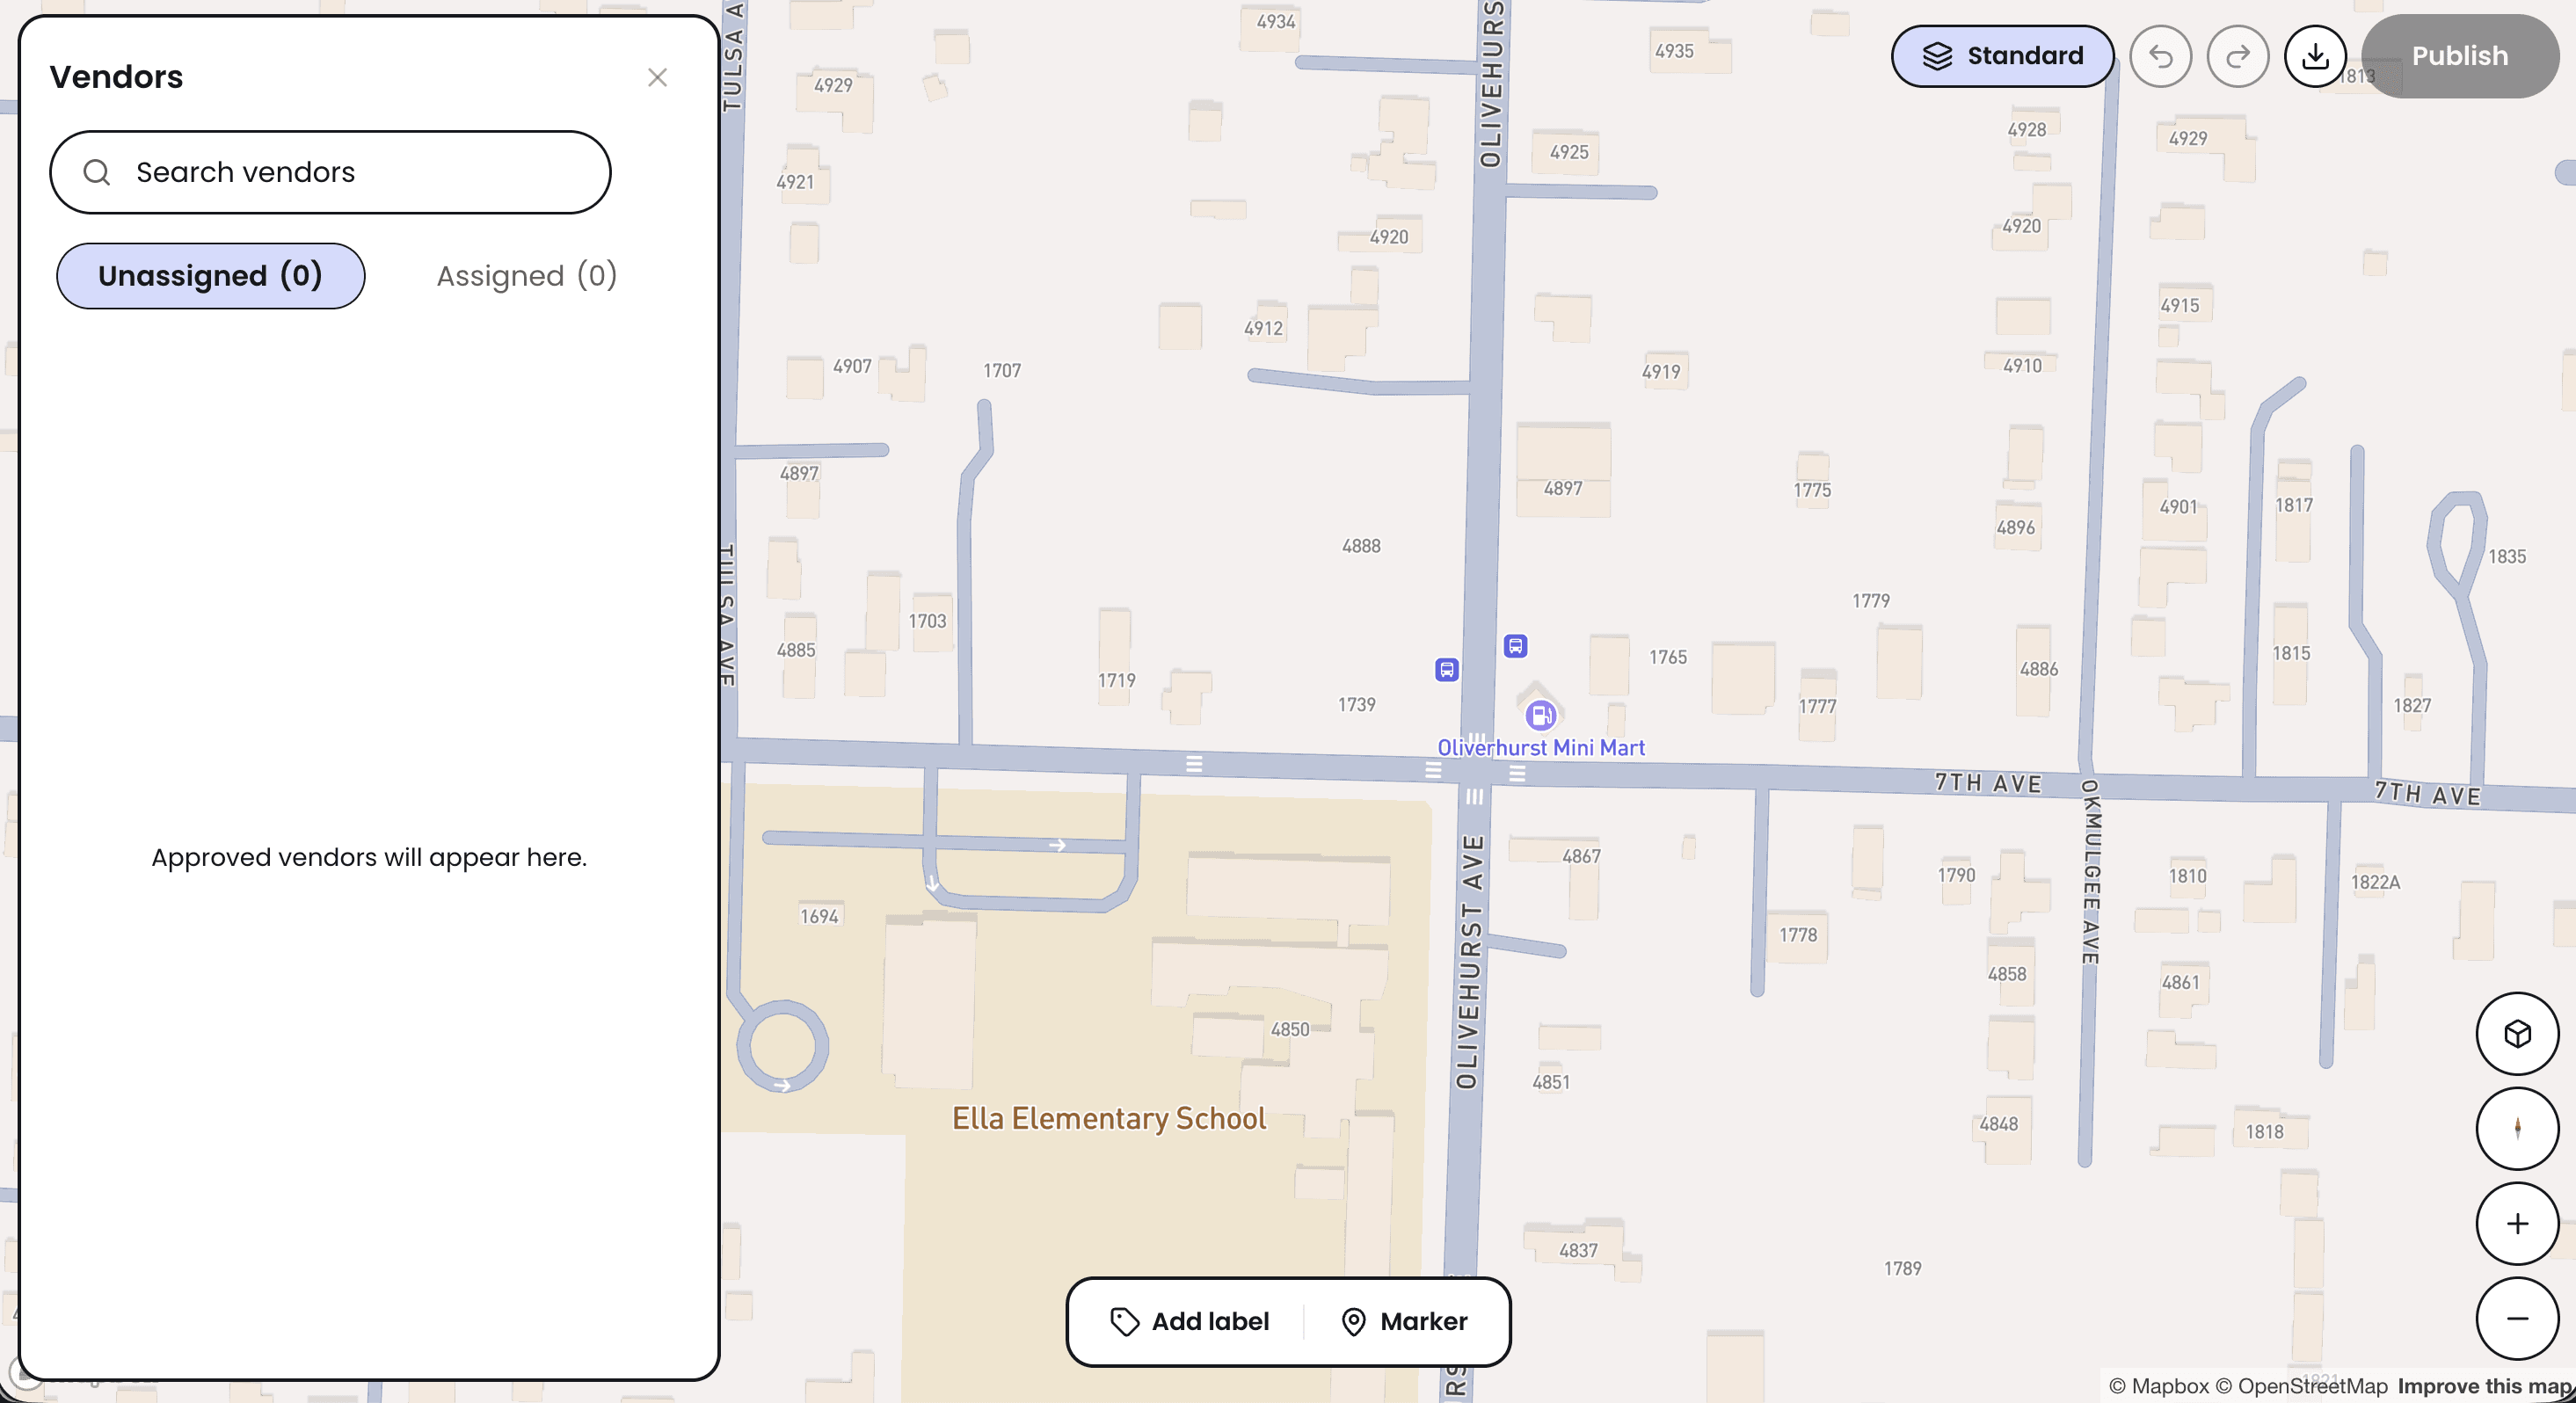
Creating a booth map can make your event day flow much easier for you and your vendors.
After volunteering at local farmers’ markets, we learned that booth mapping is not just about putting vendor names into squares. You have to think about spacing, vendor categories, foot traffic, setup, last-minute changes, and how vendors will find their booth when they arrive.
This guide covers how to create a booth map for a farmers’ market, vendor market, festival, or other booth based events, along with a few lessons we learned from working at markets ourselves.
What is a booth map?
A booth map is a layout showing where every vendor will be placed at your event.
Each booth is usually assigned a number or name, and the map shows where vendors should set up in relation to streets, entrances, food areas, walkways, stages, bathrooms, and other parts of the event.
For a smaller event, your booth map might be as simple as two rows of numbered booths.
For a larger market or festival, you may need to account for more, but today we're just covering the basics.
Your map becomes the reference point for both organizers and vendors on event day.
Do you need a booth map for your event?
If you only have a handful of vendors, you might be able to assign spaces as vendors arrive.
Once your market starts getting larger, that gets difficult.
Without assigned spaces, vendors may show up and pick their own location, set up too close to another vendor, block a walkway, or take a spot intended for someone else.
A booth map gives everyone an assigned location before setup begins.
It also makes check-in easier. Instead of deciding where every vendor goes on the morning of your event, your team can simply tell them their booth number and point them in the right direction.
How to create a booth map
1. Make sure you have your vendor list
We usually recommend waiting until most of your vendors are confirmed before creating the final booth map.
You can create the general layout earlier, but assigning vendors too soon can create extra work if vendors cancel, get moved to a waitlist, or request different booth sizes.
Once your vendor list is mostly locked in, collect the information you need for placement.
You can then begin assigning booths based on the layout of your event.
2. Create your event layout
Start with the physical space.
Mark the streets, parking lots, walkways, buildings, entrances, exits, and other areas vendors need to work around.
Then divide the vendor section into individual booth spaces. The most common space size is 10x10.
One lesson we learned from helping at farmers’ markets is to avoid leaving visible gaps between booth spaces on the map unless that space is intentional.
If your map makes it look like there is extra room between two tents, vendors may assume that space is available and spread out into it.
That can slowly throw off the spacing for the entire row.
If vendors are using standard 10x10 tents, clearly mark each 10x10 space next to the next one.
3. Think about which vendors should be placed together
Vendor placement can affect how people move through the market.
You generally do not want two vendors selling very similar products directly next to each other.
For example, if you have two candle vendors or two vendors selling similar baked goods, consider putting some distance between them.
This gives each vendor some room to sell without feeling like they are sharing the exact same section with a direct competitor.
Food vendors can also help generate foot traffic.
At the markets we have worked with, food vendors tend to draw some of the biggest groups of people. Placing retail vendors, makers, and crafters around those areas can help bring shoppers past their booths.
You do not have to put every food vendor in one section either. Spreading food vendors throughout the market can help move visitors through more of the event.
4. Use booth mapping software
You can create your booth map with a general design tool or software made for vendor events.
Marketlly
Marketlly lets organizers create and manage booth layouts alongside their vendor applications and other market information.
Because your market information is kept in the same system, you can update booth assignments as your vendor list changes instead of managing a separate graphic.
This becomes especially useful when someone cancels or asks to move shortly before the event.
Canva
Canva can also work for creating a booth map.
You can create boxes for each booth, add vendor names or numbers, and export the finished map as an image or PDF.
The downside is that it is a general design tool, so your booth map is separate from your vendor applications and event management.
If you make a change, you will need to edit the design and send the updated version again.
5. Mark booth spaces at the event site
A digital map helps vendors know where they are going, but we have found that marking the physical spaces makes setup much easier.
Before vendors arrive, mark each booth location with chalk, tape, cones, stakes, or another method that works for your venue.
Write the booth number where it is easy to see.
If a vendor is assigned Booth 24, they should be able to arrive, find the number 24 on the ground, and immediately know where their tent belongs.
This can reduce the number of vendors asking staff where they should set up.
It also keeps tents lined up with the map you created.
6. Send the booth map before the event
Do not wait until vendors arrive to show them where they are located.
We like sending the booth map about two days before the event.
That gives vendors time to:
- Look up their booth number
- Plan where to park and unload
- Ask questions before event day
- Review nearby entrances or setup areas
Include any setup instructions with the map, such as arrival time, parking information, check-in location, and when vehicles need to be moved.
The fewer questions vendors have on event morning, the easier setup becomes.
7. Be ready for last-minute booth changes
Your booth map probably will not stay exactly the same.
Vendors cancel.
Someone asks for a different booth.
Two vendors want the same location.
A food truck may need more room than expected.
Someone may need access to electricity.
We have seen these types of requests come in shortly before events.
Leave yourself enough flexibility to move vendors around without rebuilding the whole map.
This is also where having a live booth map can help.
With a static Canva graphic or PDF, every change means editing the file and sending another version.
With Marketlly, organizers can update their booth layout so vendors can see the current version instead of relying on an older copy saved to their phone.
8. Use automations for booth map updates
Sending booth assignments manually can become another task on your event checklist.
When possible, connect your booth map to your vendor management process.
Once your assignments are ready, send vendors their booth information before the event and keep that information connected to their event details.
If a booth changes, update the same map instead of creating several versions with names like:
A single current version helps keep your team and vendors on the same page.
Booth mapping tips we learned from farmers’ markets
After helping with local farmers’ markets, these are a few things we would keep in mind when building any booth map:
- Do not leave accidental gaps between booths. Vendors may assume unused space is available and spread their setup into it.
- Mark booth numbers on the ground before setup. Chalk or another visible marker can make check-in much faster.
- Send the map about two days before the event. Give vendors time to review their location and ask questions.
- Expect booth change requests. Someone will probably want to move, swap spots, or ask for a location that has already been assigned.
- Separate vendors selling similar products. Giving competing vendors some distance can make the layout feel fairer.
- Keep one current version of your map. Last-minute changes are much easier when everyone can see the same updated layout.
- Think about where crowds will form. Food vendors often attract more people, so their placement can affect traffic throughout the rest of your market.
Create your booth map with Marketlly
Marketlly gives market organizers a place to manage vendor applications, booth layouts, payments, vendor communication, and other parts of running a market.
Instead of keeping your vendor list in one place and your booth map somewhere else, you can manage both from the same platform.
Create your market and start building your booth map at Marketlly.com.